https://competethemes.wistia.com/medias/fsoviw6po8?embedType=async&videoFoam=true&videoWidth=640
WordPress includes a handful of post statuses. However, these statuses mainly tell you if your post is published or not, so we’ll refer to them as “visibility statuses.”
The visibility statuses in WordPress are:
- Draft
- Scheduled
- Pending
- Published
- Private
While these statuses are necessary, they aren’t helpful for your content creation process because they don’t tell you anything about the state of your drafts.
A post with a title and no content is a draft, and a finished post that hasn’t been scheduled yet is also a draft.
We need a better way to distinguish the state of these drafts and that’s why Strive adds four new “editorial statuses” that work alongside the “visibility statuses.”
The four statuses added by Strive are:
- Not Started
- Writing
- Editing
- Complete
While simple, these statuses are enough to clearly differentiate drafts like the two examples above.
All new posts you create will start with the Not Started status, and when you first install Strive, all of your posts will have the Not Started status assigned by default.
There are two easy ways to change a post’s status.
1. Change the status from the editor
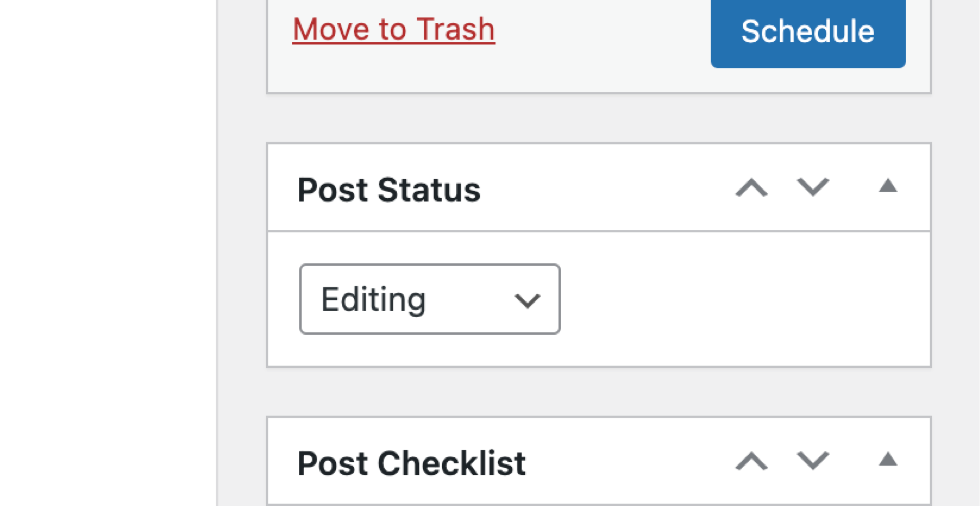
Inside the post editor, you’ll find a new Editorial Status dropdown in the sidebar.
Click the dropdown to select a new status for the post.
https://competethemes.wistia.com/medias/6qhe8baahg?embedType=async&videoFoam=true&videoWidth=640
Then save the post to save the new status.
The Gutenberg editor is featured above, but the status dropdown is also available in the Classic Editor.
2. Change the status from the calendar
You can also change a post’s status from the calendar.
Click on the post to open the Quick Edit menu. Then locate the Editorial status dropdown and click on it to select a new status for the post.
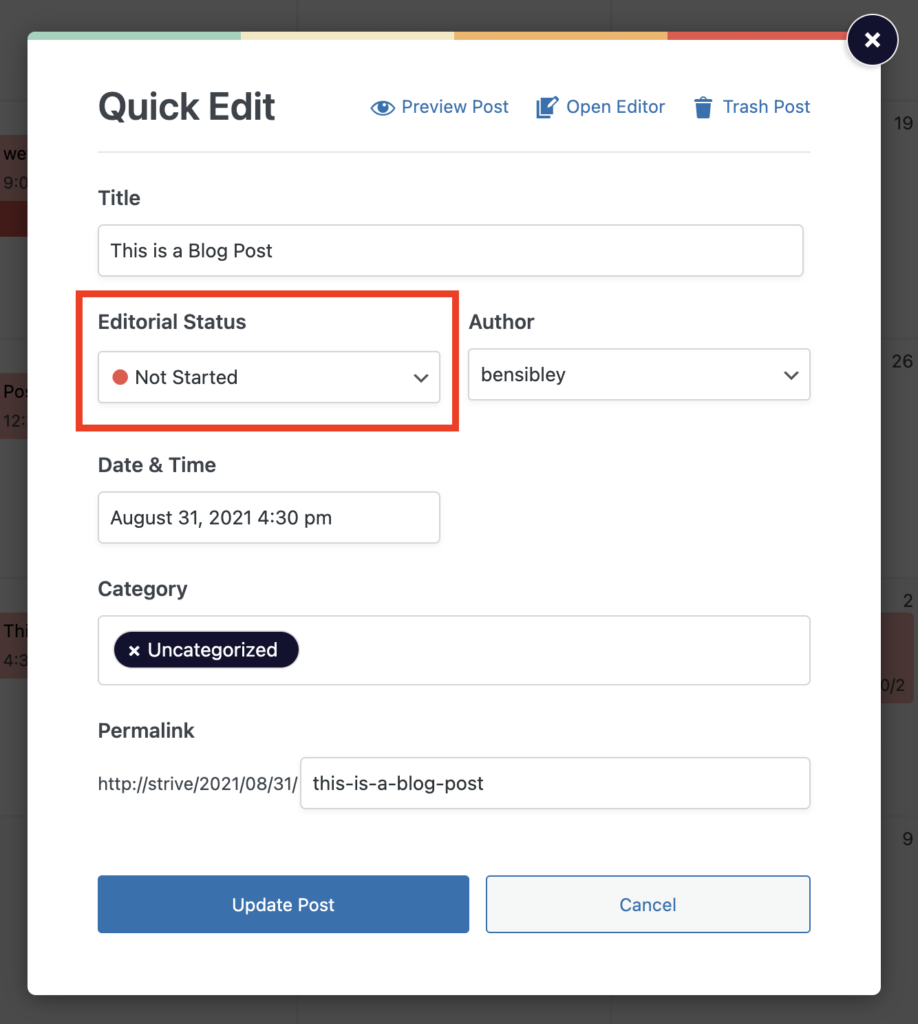
Then click the Update Post button to save your changes.
After you change the post’s status, either from the editor or Quick Edit menu, you’ll see its color update right away in the calendar. It will also be recategorized based on its status in the Pipeline.
Statuses are great for keeping track of your progress, but for more detailed progress tracking, you’ll want to implement post checklists too.
Learn how to create post checklists
Search
Search for
Categories
Related Tutorials