
Scheduling blog posts is a game-changer for content marketers, business owners, and bloggers who want to maintain a consistent publishing schedule.
Instead of publishing immediately, scheduling allows you to plan ahead and keep your WordPress site active without manually posting every time. You can set posts to automatically publish at designated future dates and times. Here are a few reasons why scheduling posts is useful:
- Consistency and time management: Scheduling helps maintain a regular posting schedule, which is essential for building an audience and improving search rankings.
- Timezone differences: If your readers are in different parts of the world, scheduling posts ensures they go live at the best time for your audience.
- Work-life balance: Whether you’re on a long trip or taking a break, scheduling posts means your blog stays updated without requiring your constant attention.
- Publishing multiple articles efficiently: Instead of publishing all your content at once, you can space out posts in WordPress to keep fresh content flowing at regular intervals.
- Better social media planning: Scheduled posts allow you to align your content with marketing campaigns and social media platforms for better engagement.
WordPress makes it easy to schedule posts with just a few clicks. In this guide, you’ll learn how to schedule WordPress posts using both the block editor and classic editor, troubleshoot common scheduling issues, and explore useful WordPress plugins to automate and optimize your posting process.
How to schedule blog posts on WordPress: a step-by-step guide
WordPress provides two main ways to create and manage posts: the Block Editor (Gutenberg) and the Classic Editor.
The Block Editor is the default option in newer versions of WordPress, offering a modern, flexible interface with drag-and-drop functionality. On the other hand, the Classic Editor is a simpler, text-based editor that older WordPress users may still prefer.
Both editors allow you to schedule posts in advance, but the process of scheduling WordPress posts looks slightly different in each.
How to schedule blog posts on WordPress with the Block Editor (Gutenberg)
- Open the WordPress dashboard and go to “Posts.” Click “Add New” to create a new post.
- Write your blog post as you normally would, adding text, images, and other media.
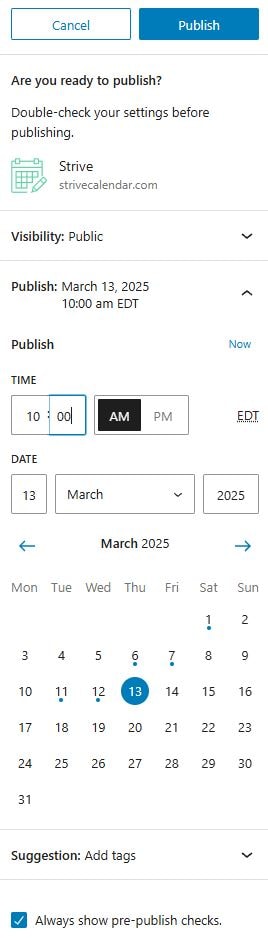
- Look at the top right corner of the post editor. Click on the “Publish” section to expand it.
- Find the “Immediately” option next to “Publish.” Click on the blue edit link next to it.
- A date and time picker will appear. Select the exact date and time you want your post to be published.
- Click the “Schedule” button, and your post will now be set to publish automatically at the scheduled date and time.
How to schedule blog posts on WordPress with the Classic Editor
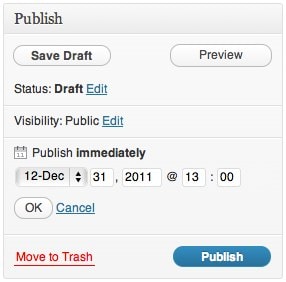
Image source: https://make.wordpress.org/support/user-manual/posts/schedule-a-post/
- From the WordPress dashboard, navigate to “Posts” and select “Add New.”
- Write your WordPress post, just as you would for an immediate publication.
- On the right-hand side, locate the “Publish” box.
- Click “Edit” next to “Publish immediately.”
- Use the date and time picker to choose when you want the post to go live.
- Click “OK,” then press the “Schedule” button to confirm.
Taks related to WordPress blog scheduling: unscheduling, changing the time, early publishing, etc
It’s easy to schedule posts in WordPress with both editors, but there are several additional scheduling-related tasks you’ll likely need to complete. When unscheduling posts, you can change the scheduled date to the current date to publish them immediately.
Below, we’ll explain everything you can do with scheduling, and troubleshoot issues that may appear along the way.
1. Where can I see all the scheduled posts on WordPress?
If you want to view all scheduled posts on your WordPress site:
- Go to your WordPress dashboard.
- Click on “Posts” in the left-hand menu.
- At the top of the posts page, you’ll see different post statuses such as “All,” “Published,” “Drafts,” and “Scheduled.”
- Click on “Scheduled” to see a list of all the posts that are set to be published at a future date.
2. How to edit the scheduled blog post in WordPress?
If you need to make changes to the content without changing the publishing schedule, follow these steps:
- Open your WordPress dashboard and click on “Posts.”
- Click on the “Scheduled” tab to find your upcoming post.
- Click on the title of the scheduled post you want to edit.
- Make any changes to the content, images, or formatting.
- Click “Update” to save your changes without affecting the scheduled publication date.
This ensures your post remains on track while allowing you to refine your content before it goes live.
3. How to unschedule blog posts on WordPress?
If you need to remove a scheduled post from the queue and return it to Drafts, follow these steps:
- Open your WordPress dashboard and go to “Posts.”
- Click on the “Scheduled” tab to find the post you want to unschedule.
- Click on the title of the post to open the editor.
- In the “Publish” section, click on the blue edit link next to the scheduled date.
- Change the scheduled date to the current date and time to publish the post immediately, or change the post status from “Scheduled” to “Draft.”
- Click “Save as Draft.”
Now you can edit it further and schedule it again later, or publish it manually when you’re ready.
4. How to change time and date of the scheduled blog post on WordPress?
If you need to adjust the scheduled date or time of a post before it goes live:
- Open your WordPress dashboard and go to “Posts.”
- Click on the “Scheduled” tab to view all upcoming posts.
- Click on the title of the post you want to modify.
- In the “Publish” section, click on the blue edit link next to the scheduled date and time.
- Use the date and time picker to select the new publication date and time.
- Click “Schedule” to save the changes.
Your post will now be updated to publish automatically at the new specified date and time.
5. Backdating WordPress blog posts
Maybe we can’t travel back in time yet, but your WordPress blogs can!
Backdating a blog post means setting an earlier publication date so that it appears as if it was published in the past.
This can be useful if you’re organizing old content, want to maintain a consistent timeline, or update past events.
To backdate a post in WordPress:
- Open your WordPress dashboard and go to “Posts.”
- Click “Add New” to create a new post, OR edit an existing one.
- In the “Publish” section, click the blue edit link next to the publication date.
- Use the date and time picker to select an earlier date.
- Click “Update” or “Publish” to apply the changes.
The post will now appear in your blog as if it was published on the selected date.
6. How to delete the scheduled blog post on WordPress?
If you’ve changed your plans and want to delete the scheduled post permanently, here’s how:
- Open your WordPress dashboard and go to “Posts.”
- Click on the “Scheduled” tab to find the post you want to delete.
- Hover over the post title and click “Trash.”
- The post will be moved to the “Trash” section. To permanently delete it, go to “Trash” and click “Delete Permanently.”
7. How to change the timezone for blog post publishing on WordPress?
WordPress uses the timezone set in your website settings to determine when posts are published.
If your posts are not appearing at the correct time, adjusting the timezone can fix this issue:
- Open your WordPress dashboard and go to “Settings” > “General.”
- Scroll down to the “Timezone” section.
- Use the dropdown menu to select the correct timezone for your location.
- Click “Save Changes.”
Once updated, all future scheduled posts will follow the new timezone setting. Be sure to double-check your time settings before scheduling posts to avoid unexpected publishing times.
8. Why didn’t my post publish at the scheduled time?
Sometimes, WordPress scheduled posts fail to publish when expected.
Here are a few common reasons why this happens and how to fix them:
- WP Cron issues: WordPress uses the WP Cron system that makes sure scheduled posts are published on time. If your site has low traffic or Cron isn’t running correctly, your post might not publish. Installing a plugin like “WP Crontrol” can help you manage and troubleshoot cron jobs.
- Plugin conflicts: Some WordPress plugins, especially caching or optimization plugins, may interfere with scheduled posts. Try disabling plugins one by one to identify the cause.
- Incorrect timezone settings: If your WordPress site is set to the wrong timezone, posts may be scheduled for an unintended time. Go to “Settings” > “General” and adjust your timezone to match your location.
- Hosting restrictions: Some hosting providers limit how frequently cron jobs run. If your site is on a shared hosting plan, you may need to set up a manual cron job via your hosting control panel.
- Database issues: Corrupt or outdated database entries can cause scheduling errors. Running a database optimization plugin can help resolve this problem
With StriveCalendar, you can keep blog post publishing on WordPress in order!
StriveCalendar is a WordPress editorial calendar plugin that helps users organize, plan, and schedule blog content with ease. It provides a visual calendar view of all your past, present, and future posts, allowing you to manage your content at a glance.
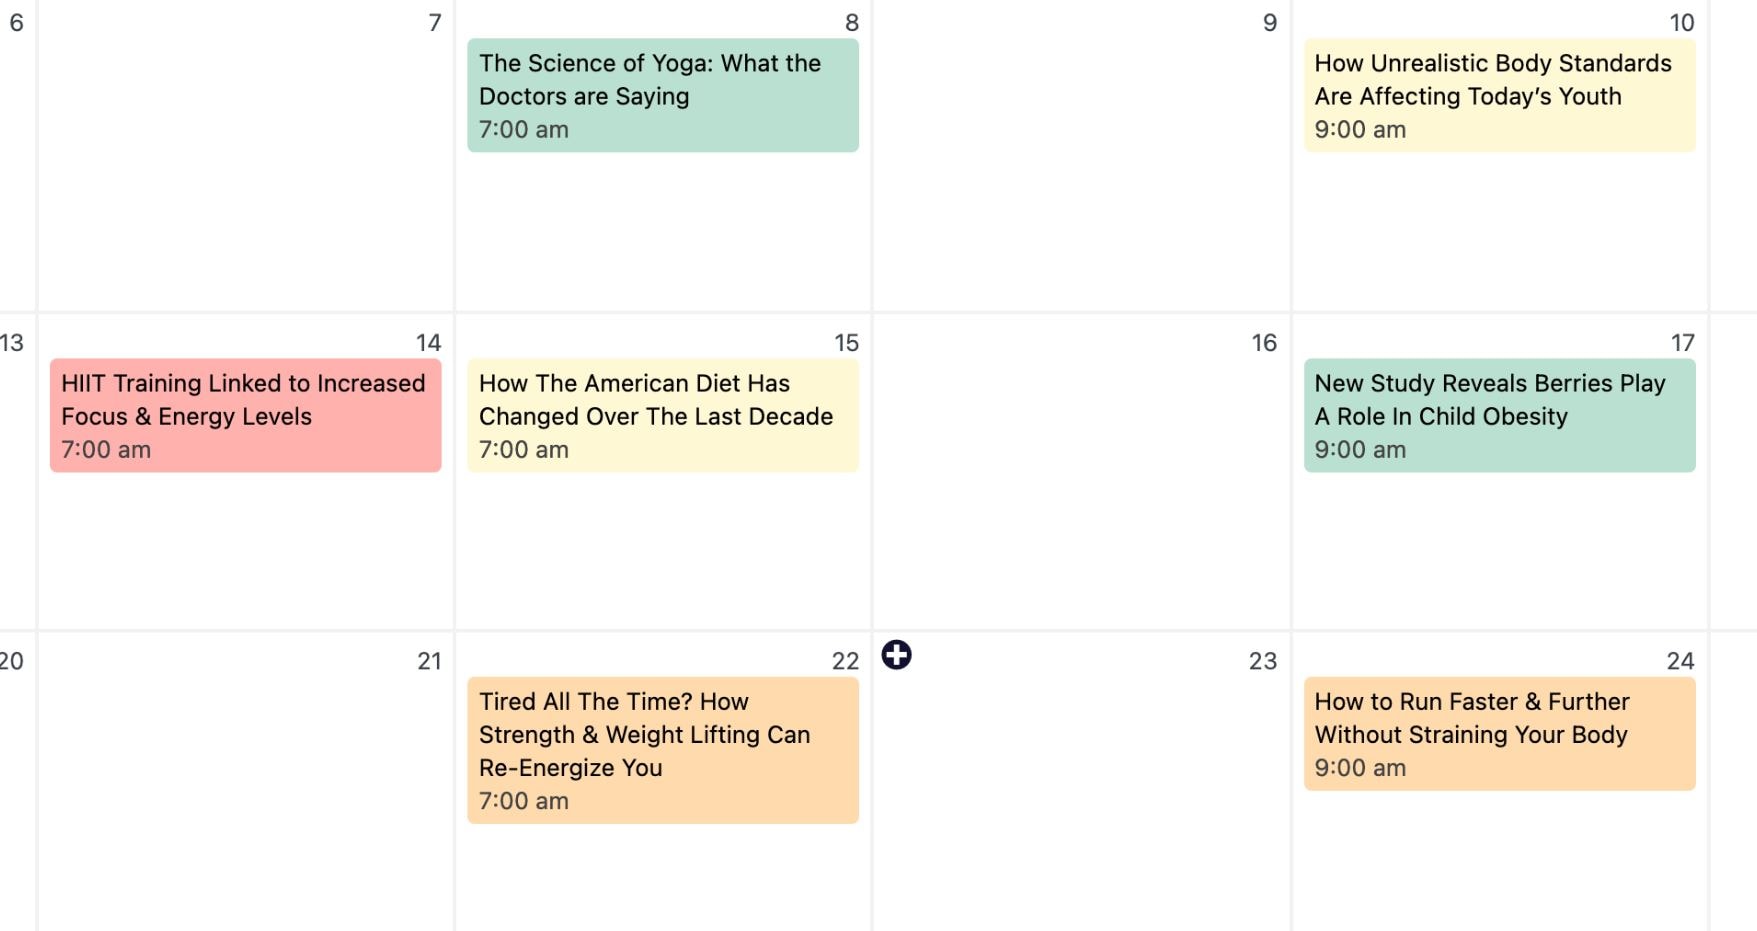
Instead of manually checking individual posts in the WordPress dashboard, StriveCalendar simplifies content scheduling by giving you an intuitive, drag-and-drop interface.
With StriveCalendar, you can easily schedule blog posts, move them around on the calendar, and track your publishing workflow.
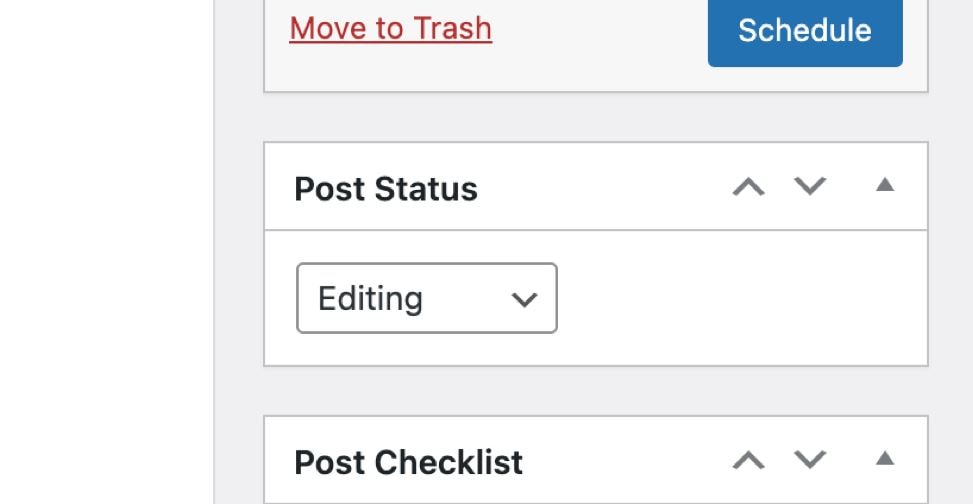
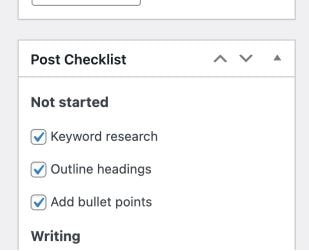
It also includes features like post statuses, revisions, and a pipeline view to help teams and individual bloggers stay on top of their content strategy.
If you’ve ever struggled with missed posts or forgotten deadlines, this tool ensures you always publish at regular intervals, keeping your WordPress site updated with fresh content.
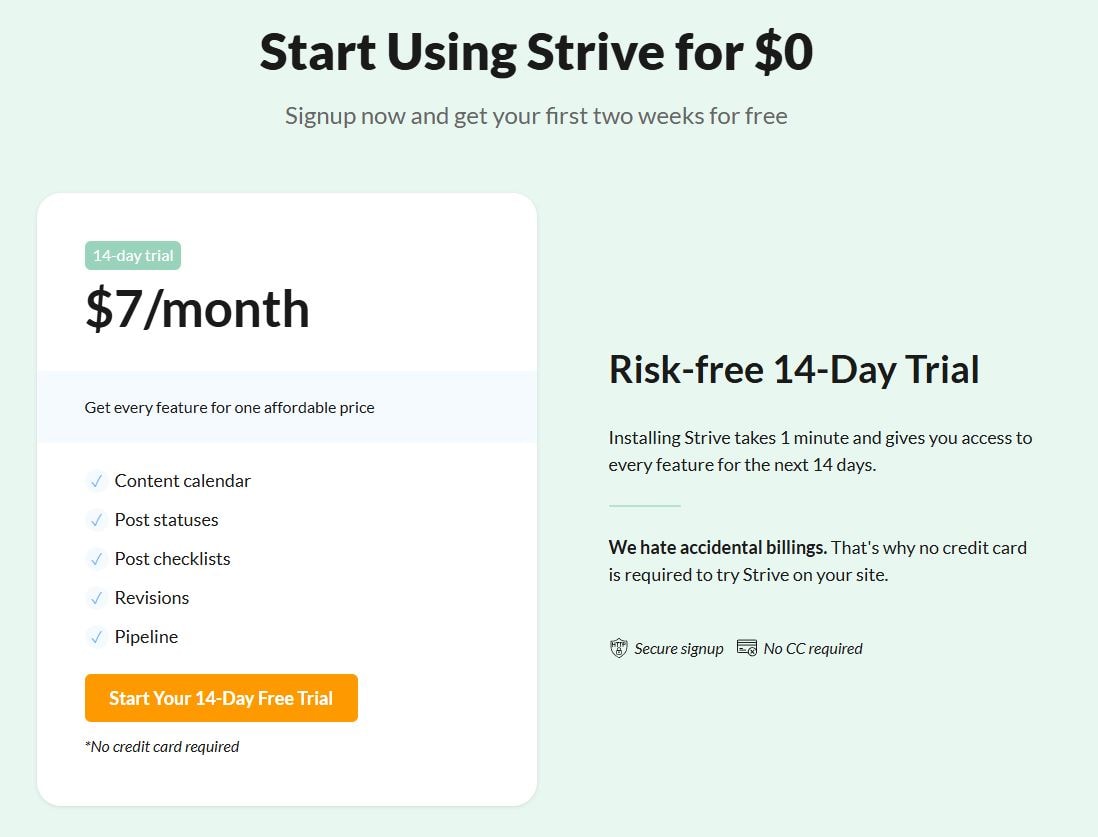
Try StriveCalendar’s 14-day free trial today and take control of your WordPress blog scheduling!