The WordPress footer is an essential yet often overlooked part of any WordPress site.
Located at the bottom of each page, it provides an opportunity to deliver valuable information, enhance user navigation and site’s appearance, and improve your entire website’s overall functionality. It can also improve your ranking on search engines.
Whether you want to include important links, display legal disclaimers, or add a touch of personalization, editing the footer can significantly contribute to your site’s usability and design.
This guide will walk you through everything you need to know about customizing your WordPress footer effectively.
What is a footer in WordPress?
A WordPress footer is a critical section of a website, positioned at the bottom of every page.
This section of your site, though subtle, can enhance user experience and ensure crucial information is readily accessible.
A footer plays a crucial role in enhancing the overall user experience and functionality of a WordPress site.
As the consistent bottom section of a webpage, it acts as a final touchpoint for visitors, offering easy access to essential information and navigation links.
For instance, links to pages like “Privacy Policy,” “Terms of Service,” or “Contact Us” are often included in the footer to ensure they’re accessible without disrupting the main content of the site.
WordPress footer improves usability and streamlines navigation, especially on sites with extensive website content.

Beyond user convenience, a footer is an essential component of search engine optimization (SEO).
Including internal links or keywords when you edit the footer helps search engines crawl and index your site effectively, boosting its visibility in search results.
For businesses, the footer serves as a space to build trust and credibility by displaying legal notices, certifications, or trust badges.
Additionally, it can encourage visitor engagement by featuring social media icons, subscription forms, or links to key products or services.

By combining functionality and professionalism, the footer supports both user satisfaction and site performance, making it an indispensable part of any well-designed website.
What can you put in the footer section?
The WordPress footer is a versatile area of your website, and what you include depends on your site’s goals, audience, and design preferences.
You can make it a functional and visually appealing component of your site while ensuring that visitors find the information they need effortlessly.
While it may not be as prominent as the site’s header or main content area, the footer serves multiple important purposes:
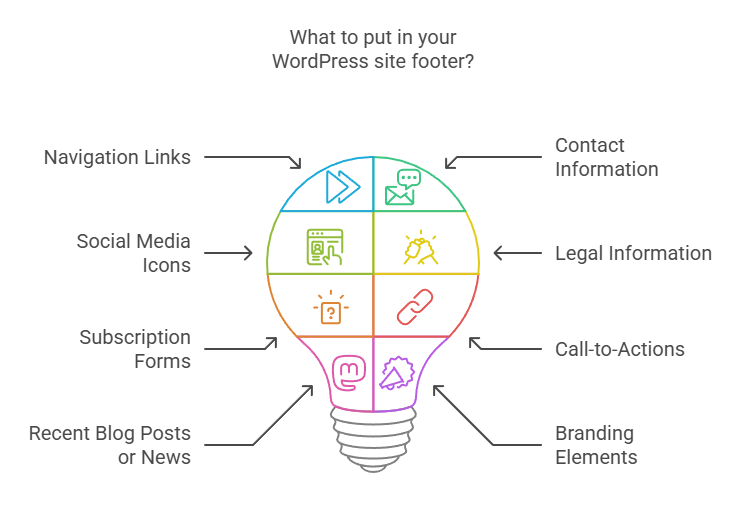
Here are some ideas for content you can add to your custom footer:
- Navigation links: Add links to important pages such as Privacy Policy, Terms and Conditions, Contact Us, About Us, or FAQs. This helps users find essential information quickly in the footer navigation menu.
- Contact information: Include your business address, phone number, and email for easy access. This is especially useful for service-based businesses or local establishments.
- Social media icons: Display icons that link to your social media profiles, encouraging visitors to engage with your brand on other platforms.

- Legal information: Add disclaimers, copyright notices, or accessibility statements to comply with regulations and build trust.
- Subscription forms: Encourage users to subscribe to newsletters or email updates directly from the WordPress footer bar.
- Call-to-actions: Add buttons or links prompting users to sign up, contact you, or explore specific services or products.
- Recent blog posts or news: Showcase dynamic content like your latest blog articles or news updates to keep visitors engaged.
- Branding elements: Reinforce your branding with a logo, tagline, or mission statement.
- Multilingual options: Include language switchers if your website supports multiple languages.
How to edit footer in WordPress: different ways to try out
Editing footers on WordPress sites is completely free, fairly easy and there are several ways to do so.
There are various methods to customize your footer based on your theme, preferences, and technical expertise, or you can use a premade footer block.
Below, we’ll describe each step by step.
1. How to edit footer in WordPress using the WordPress Theme Customizer
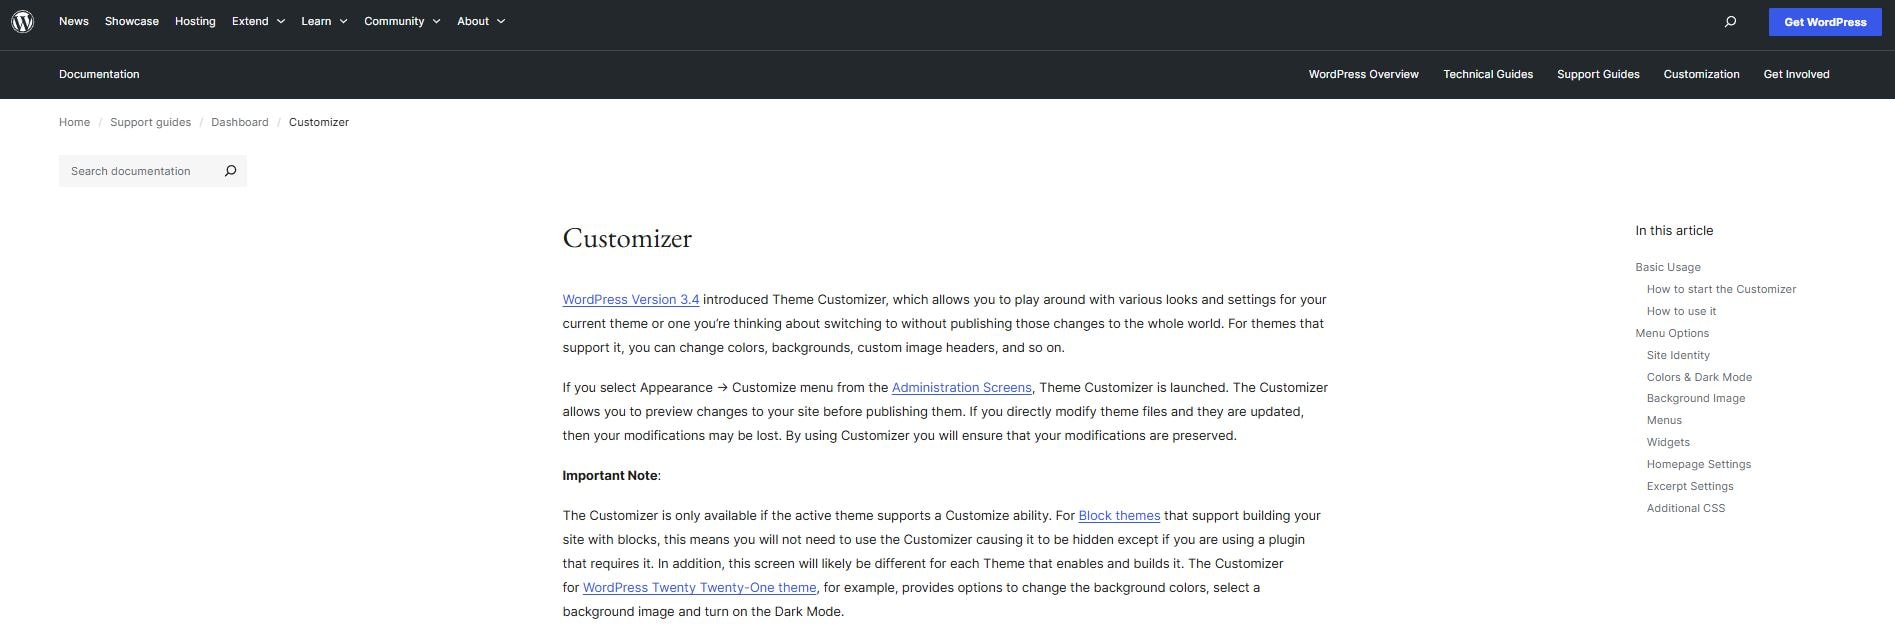
source: https://wordpress.org/documentation/article/customizer/
The WordPress Theme Customizer is one of the most user-friendly ways to have theme developers edit your site’s footer.
It offers a visual interface that allows you to make and preview changes in real time without the need for coding.
- Access the Customizer
- Log in to your WordPress dashboard.
- Navigate to Appearance > Customize.
- Locate the Footer Settings
- In the Customizer, look for the Footer section. The exact name and options may vary depending on your theme.
- Common options include “Footer Widgets,” “Footer Layout,” or “Footer Text.” (source: https://wordpress.org/documentation/article/customizer/)
- Make your changes
- To start editing, modify the footer content by:
- Adding or editing widgets.
- Changing text, such as copyright information or custom messages.
- Adjusting the footer layout and design settings like background color, font style, or spacing.
- To start editing, modify the footer content by:
- Preview your changes
- Use the live preview feature to see how your edits will appear on the site.
- Save and publish
- Once satisfied, click Publish button to save your changes and make them live.
Benefits of using the WordPress Theme Customizer
Using the WordPress Theme Customizer is highly beneficial due to its user-friendly nature:
- The visual interface makes it accessible even for beginners without coding experience.
- Since no coding is required, this approach is safer, reducing the risk of breaking your site.
- Real-time preview functionality ensures you can see changes as they happen, allowing for precise adjustments before making them live.
Limitations of the WordPress Theme Customizer
Despite its advantages, the Theme Customizer has some limitations.
Its functionality heavily depends on the specific theme being used; some classic themes may offer limited WordPress footer customization options.
It also lacks advanced features, which can be a drawback for users looking to create complex footer designs or add dynamic content. In such cases, using additional plugins or manual coding might be necessary to achieve the desired results.
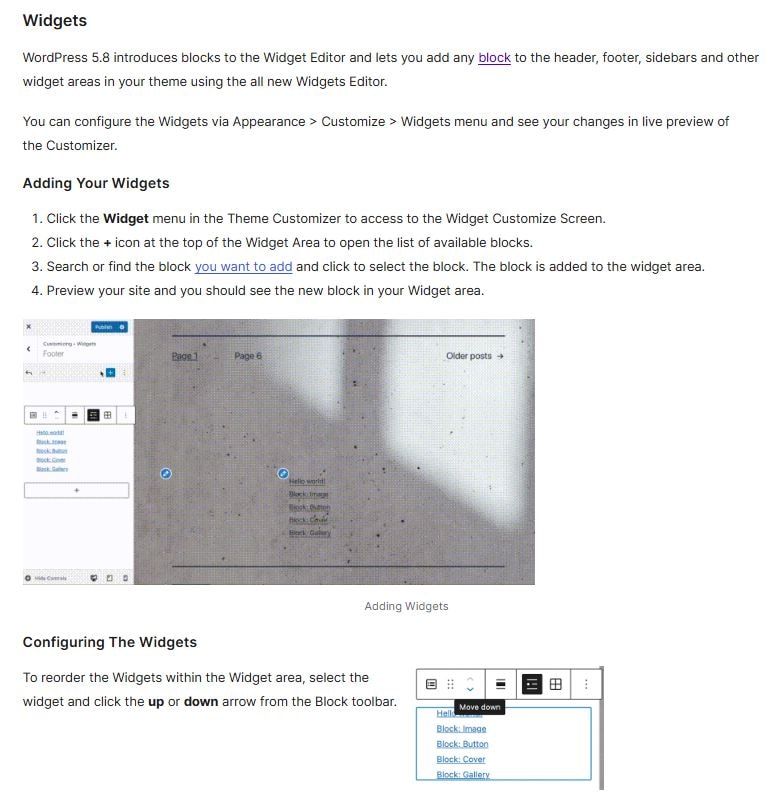
2. How to edit footer in WordPress by adding widgets and menus
Widgets and menus are key elements you can incorporate into your WordPress site’s footer to enhance its functionality and appearance.
Widgets, which are small content blocks, allow you to add text, videos, images, custom HTML, code, and more to specific sections of your site.
Many WordPress themes provide dedicated widget areas in the footer, making it easy to organize and display information effectively in the footer bar.
Step-by-step guide to adding widgets:
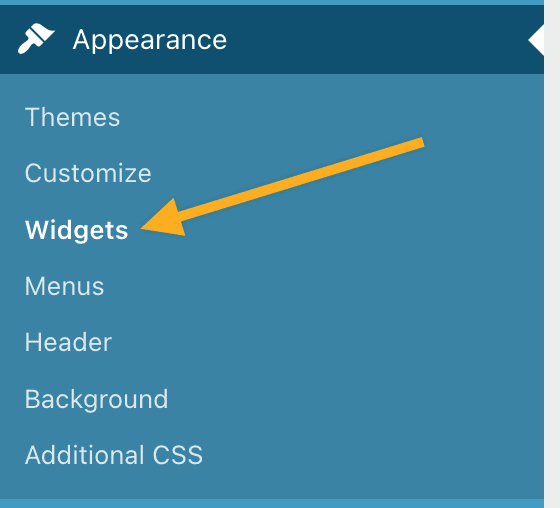
- Access the Widgets Menu
- Log in to your WordPress dashboard.
- Navigate to Appearance > Widgets (source: https://wordpress.com/support/edit-the-footer/)
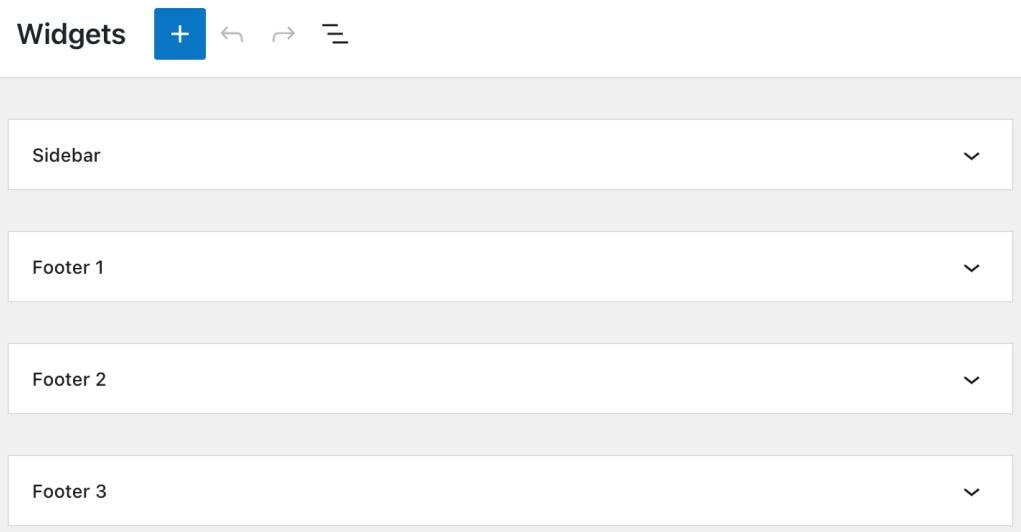
- Select your Footer Widget Area
- Identify the widget-ready sections of your footer. These will vary depending on your theme and theme builder.
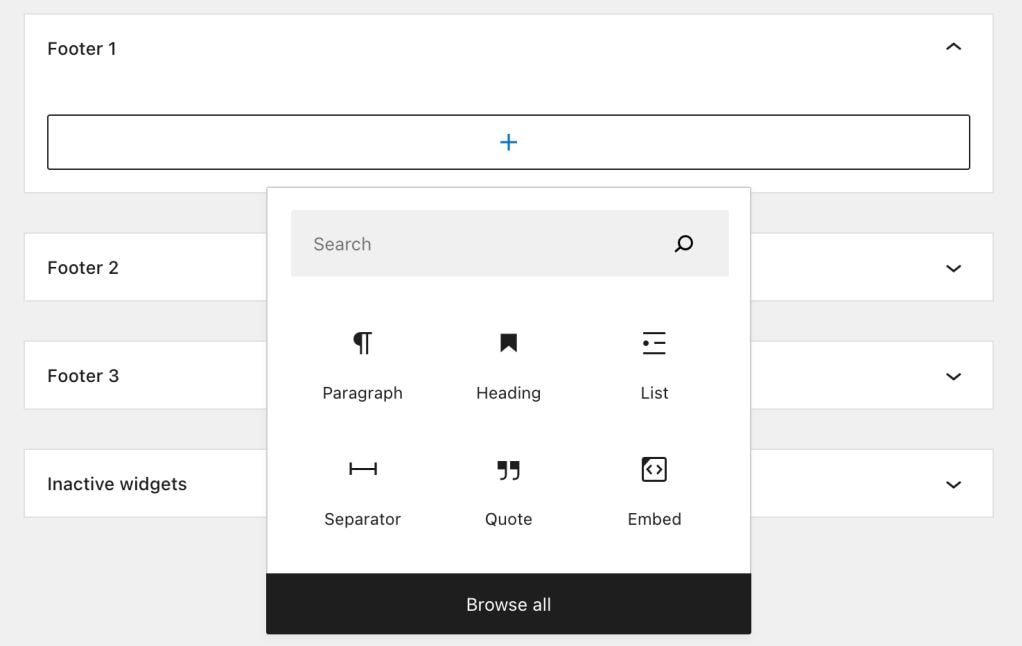
- Add Widgets
- Drag and drop widgets like text blocks, recent posts, or social media feeds into the footer sections (source: https://wordpress.com/support/edit-the-footer/)
- Drag and drop widgets like text blocks, recent posts, or social media feeds into the footer sections (source: https://wordpress.com/support/edit-the-footer/)
- Customize the Widgets
- Configure the widget settings to include relevant content.
- Save changes
- Click Save to publish your updates to the footer.
Step-by-step guide to adding menus:
- Access the Menus Section
- Log in to your WordPress dashboard.
- Navigate to Appearance > Menus.
- Create or edit a Menu
- Add links to important pages such as Privacy Policy or Contact Us.
- Assign the Menu to the Footer
- Select the footer menu location checkbox.
- Save the Menu
- Click Save Menu to implement the changes.
Benefits of using widgets and menus
Incorporating widgets and menus into your WordPress footer area allows for high customization without coding. This method is beginner-friendly and offers significant design and functionality enhancements.
Widgets provide flexibility by enabling users to add dynamic elements like recent posts or contact forms, while the footer menu improves navigation by linking essential pages.
Drawbacks of using widgets and menus
The effectiveness of WordPress footer widget area and menus depends on the theme’s flexibility. Some themes may have limited footer widget-ready areas or lack support for the footer menu.
Additionally, overloading the site’s footer with too many elements can clutter the design and detract from usability.
Careful planning is essential to ensure an organized and functional footer layout.
3. How to edit footer in WordPress using Page Builder plugins
Page footer builder plugins like Elementor, WPBakery, and Beaver Builder offer powerful tools for visually customizing your WordPress footer.
source: https://elementor.com/

source: https://wpbakery.com/
source: https://www.wpbeaverbuilder.com/
These plugins allow you to create highly customized footer designs without writing any code, making them a popular choice for users seeking flexibility and precision.
You can add new blocks, or edit existing blocks to your liking.
Step-by-Step guide to editing the footer with Page Builder plugins:
- Install and activate a Page Builder Plugin
- Navigate to Plugins > Add New in your WordPress dashboard.
- Search for a page builder plugin like Elementor or WPBakery.
- Click Install Now and activate the plugin.
- Access the Footer Section
- Depending on your theme builder, you may need to enable footer editing through the plugin settings.
- Open the page builder and navigate to the footer area of your WordPress website.
- Design your Footer
- Use the drag-and-drop interface to add widgets, text blocks, images, or other elements.
- Arrange the layout to match your design preferences.
- Customize each element’s style, including fonts, colors, and spacing.
- Add Dynamic Content
- Insert dynamic elements like recent posts, social media feeds, or contact forms using built-in WordPress footer widgets from the widgets page.
- Save and preview
- Click Publish or Save to apply your changes.
- Preview your footer to ensure it meets your expectations.
Benefits of using Page Builder Plugins
Page builder plugins offer unmatched flexibility and customization options.
They allow you to create complex footer designs with ease, combining multiple elements like images, buttons, and dynamic content in a seamless layout. The visual, drag-and-drop interface makes it easy to experiment with different designs and see the results instantly.
Many page builders also come with pre-designed templates, saving time and effort.
Drawbacks of using Page Builder Plugins
While powerful, page builder plugins can be resource-intensive and may slow down your WordPress website if not optimized properly.
They may also require a learning curve, especially for beginners unfamiliar with their interfaces.
Finally, reliance on a specific theme builder or plugin could limit flexibility if you decide to switch themes or plugins in the future, as the designs may not be compatible.
4. How to edit footer in WordPress with PHP file
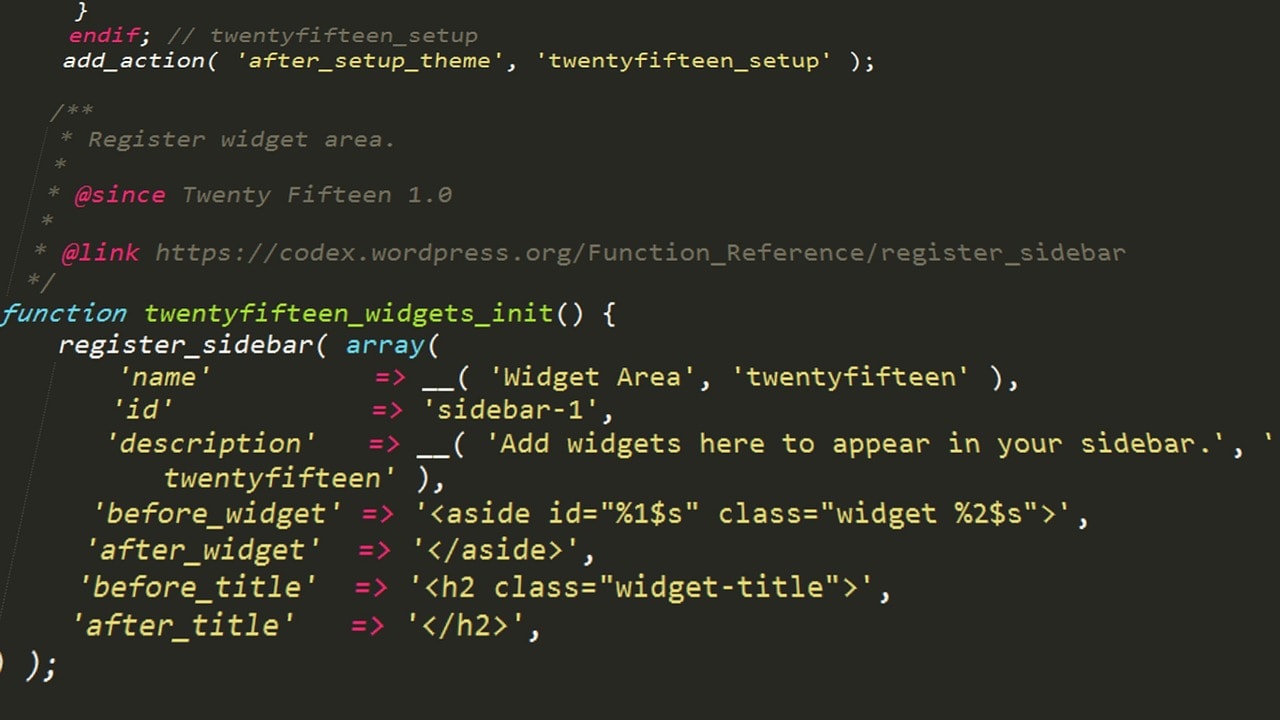
For users comfortable with coding, editing the footer.php file offers complete control over the structure and content of menus page in your footer.
This approach allows advanced customization and is ideal for creating unique designs or adding specific functionalities.
Here’s how to change footer in WordPress with PHP:
- Access the footer.php file
- Log in to your WordPress dashboard.
- Navigate to Appearance > Theme Editor.
- On the right-hand panel, find and click on the footer.php file under your active theme.
- Backup the original file
- Before making any changes, copy the existing code from the footer.php file and save it in a text editor as a backup.
- Edit the PHP code
- Replace or modify the existing PHP code to reflect the desired changes. For example, to add a custom message, use the following snippet:
<div class="custom-footer-message"> <?php echo "Your custom text here"; ?> </div> - Adjust the HTML structure and content as needed.
- Replace or modify the existing PHP code to reflect the desired changes. For example, to add a custom message, use the following snippet:
- Update and save
- Once satisfied with the changes, click Update File to save the modifications.
- Test the changes
- Visit your WordPress website and refresh the page to ensure the footer updates are displayed correctly.
Benefits of editing footer with PHP
Editing the footer.php file provides unparalleled flexibility and control.
This method allows you to:
- Implement unique designs and layouts that may not be possible with themes or plugins.
- Add dynamic PHP elements such as date functions or conditional statements.
- Integrate third-party scripts or custom functionalities directly into the footer.
Limitations of Editing Footer with PHP
While powerful, this approach has notable drawbacks:
- Technical expertise required: This method is not beginner-friendly and requires familiarity with PHP and HTML.
- Risk of breaking the site: Errors in the PHP code can lead to critical issues, including site downtime.
- Theme updates overwriting changes: If the theme is updated, modifications to the footer.php file may be lost unless a child theme is used.
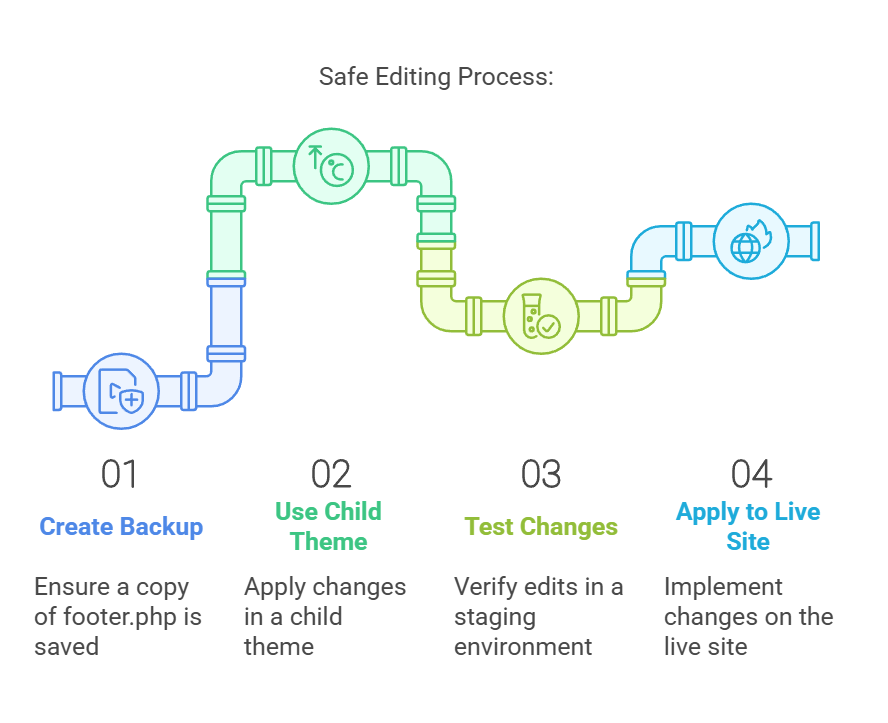
How to keep the site safe during footer editing with PHP
How to remove WordPress branding from the footer
Removing WordPress branding, such as “Proudly powered by WordPress,” from your footer can significantly enhance the professionalism of your site.
It provides an opportunity to align the footer design with your brand identity, create a cleaner aesthetic, and even add your own branding or custom footer text.
For non-technical users, plugins simplify the process, while more experienced users can customize the footer.php file for maximum control of the footer bar.
Removing default branding ensures your site maintains a polished and personalized look, giving visitors a stronger impression of your brand. This lets you create a more cohesive and professional site design.
Removing WordPress branding with the footer.php file
- Access the footer.php file
- Log in to your WordPress dashboard.
- Navigate to Appearance > Theme Editor.
- On the right-hand panel, locate and click on the footer.php file under your active theme.
- Backup the footer.php file
- Copy the original content of the footer.php file and save it in a text editor as a backup. This ensures you can restore the file in case of an error.
- Find and remove the branding code
- Search for the line of code that includes the WordPress branding, such as:
<?php echo esc_html__( 'Proudly powered by WordPress', 'theme-text-domain' ); ?> - Delete this line carefully, ensuring you do not disrupt other code in the file.
- Search for the line of code that includes the WordPress branding, such as:
- Save the changes
- Click the Update File button to save your changes.
- Verify your website
- Refresh your site to ensure the branding has been removed and that the footer displays as intended.
Alternative method: using a plugin
If editing the footer.php file seems too technical, you can use a plugin to remove WordPress branding.
- Install the Remove Footer Credit Plugin
- Go to Plugins > Add New in your WordPress dashboard.
- Search for the “Remove Footer Credit” plugin.
- Click Install Now and activate the plugin.
- Configure the plugin
- Navigate to the plugin settings (usually found under Appearance > Remove Footer Credit).
- Locate the footer text you want to remove, such as “Proudly powered by WordPress.”
- Save changes
- Enter the text you want to remove in the plugin’s interface and click Save.
- Check your site
- Refresh your website to confirm the branding has been removed.
Whether you choose manual editing or a plugin-based approach, always proceed carefully to ensure your changes do not disrupt your site’s functionality.
Best practices for editing WordPress footers
Previewing and backing up your site
Previewing and backing up your WordPress site are essential steps before making any footer modifications.
Previewing allows you to see how changes will appear in real-time, helping to identify and address potential errors or design inconsistencies.

To preview changes, use WordPress’s built-in Customizer, where you can experiment with layout and content updates without impacting the live version of your site.
Backing up your site ensures you have a recoverable version in case something goes wrong during the editing process.
This is particularly important when editing core files like the footer.php, as a simple mistake in the code could render your site inaccessible.
Use reliable backup plugins such as UpdraftPlus or Jetpack to create a full-site backup.
Alternatively, check if your hosting provider offers regular backups as part of your plan. This way, you can confidently make footer edits knowing you can restore your entire site, if necessary.
Using a child theme to preserve customizations

Using a child theme is a best practice for maintaining your footer customizations over time.
A child theme allows you to make changes to your WordPress site while preserving the integrity of the parent and theme files. This is especially important because updates to the parent theme can overwrite any direct modifications made to core files, potentially erasing your custom work.
To create a child theme, create a new folder in your WordPress wp-content/themes directory.
Add a style.css file and a functions.php file to the folder, ensuring the child theme inherits functionality from the parent theme.

Once the child theme is active, you can safely edit the footer.php file within the child theme directory. This approach keeps your customizations intact during theme updates, ensuring a seamless and secure editing process.
Now, you can maintain custom links and a customized footer design without risking compatibility issues or losing changes in the future.
Conclusion
WordPress editing process doesn’t have to be complicated.
Whether you’re updating the default text, creating a new menu, or customizing content in multiple footer widget areas, WordPress offers versatile options to suit your needs.
By navigating to the Select Footer section in the Customizer or using the drag and drop editor in the Widgets area, you can easily add links to relevant pages, style your footer with a text widget, or further personalize it by adding custom CSS.
These tools make it simple to tailor your website’s footer to match your brand and provide valuable information to your visitors.
With these steps, your footer will not only look professional but also enhance your site’s overall functionality and appeal.
Try Strive for free for 14 days!
Simplify your website management by staying on top of updates like editing your WordPress footer.
Strive Calendar helps you plan and schedule important tasks, ensuring your footer always reflects the latest information, links, or branding updates. Keep your site polished and professional with less hassle.
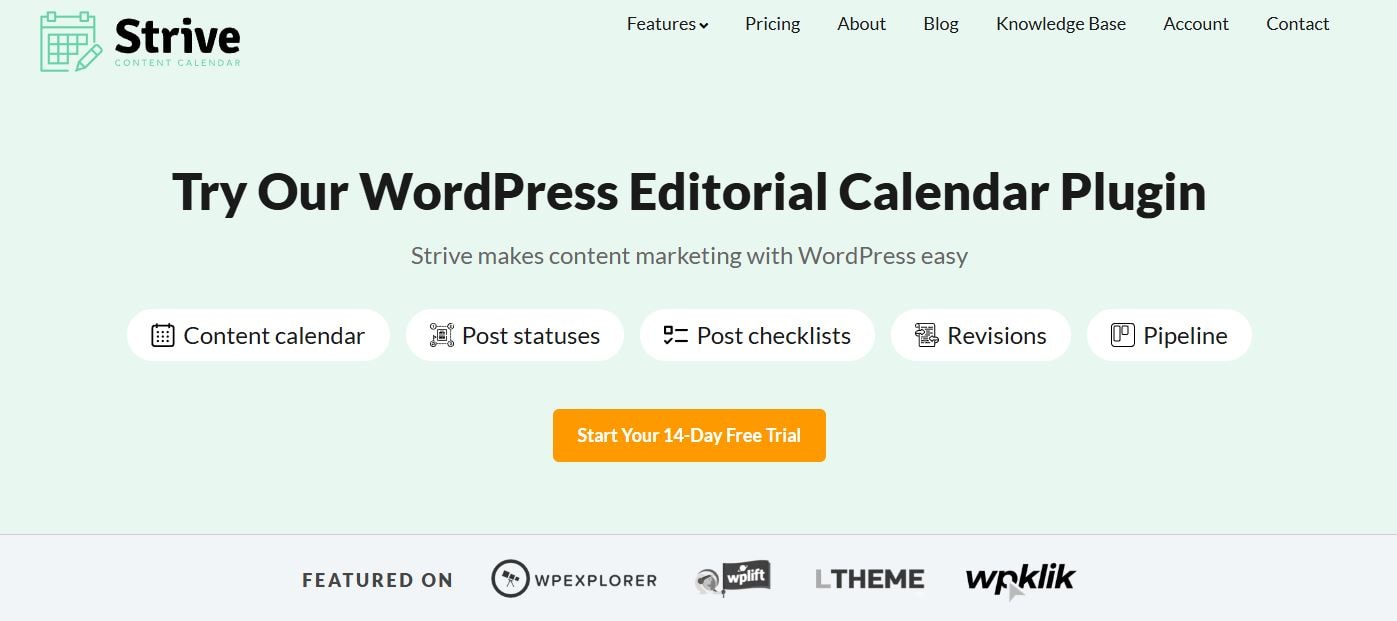
Try Strive Calendar today and take control of your website’s organization and efficiency!