
With the right approach, migrating a WordPress site manually ensures a smooth transition without losing important data. Migration plugins can simplify the process by facilitating site backups, ensuring data integrity, and providing customization options, including the transfer of the site’s files.
Whether you’re switching to a new web host, changing domains, or simply upgrading your hosting plan, understanding the manual migration process will help you avoid poor website migration resulting in downtime, broken links, or even data loss, and eventually poor performance and low search rankings.
WordPress site migration can be achieved through various methods, including both manual techniques and automated options that streamline the experience.
In this guide, we’ll walk you through every step of manually migrating your WordPress website, so your site remains functional and accessible throughout the process.
By following this step-by-step guide, you’ll be able to move your website confidently without relying on automated tools.
What is website migration?
Site migration refers to the process of moving a WordPress site between different hosts or platforms, transferring it from one hosting provider to another, changing domains, or moving to a new server.
Why you might want to migrate your WordPress website
Your current hosting provider is not meeting your needs
If your site is experiencing slow loading speeds, frequent downtime, or poor customer support, it may be time to switch to a better hosting provider. A slow website frustrates visitors and decimates search rankings, leading to reduced traffic and lower conversion rates.
Upgrading to a new host with better resources can significantly improve your site’s performance and user experience.
This may happen as you outgrow your website/ hosting provider. As your website grows, you might need a different hosting plan.
A growing business needs a reliable hosting provider that can handle increased traffic, larger databases, and additional functionalities.
If your current web host lacks the necessary resources, a migration to a more powerful hosting server will help maintain your website’s performance and uptime.
Shared hosting is a great starting point, but high-traffic sites often require more robust hosting solutions like VPS or dedicated servers. Migrating to a new hosting plan allows you to scale your website without running into performance issues.
You need to migrate your WordPress site to a new domain
Changing your domain can be necessary for rebranding or better search engine optimization.
However, migrating WordPress sites to a new domain requires careful handling to avoid losing SEO rankings and visitor traffic. A proper migration ensures that redirects are set up correctly so users and search engines can find your new site without issues.
You are redesigning or restructuring your website

If you’re overhauling your website’s structure, theme, or functionality, it might be beneficial to set up a new hosting environment instead of making changes to a live site. This ensures that you can test everything properly before launching the new version of your website.
What you should do before website migration
Before beginning the migration process, it is crucial to prepare properly to avoid potential errors and data loss.

First, backup your website files and database.
Before making any changes, create a full backup of your WordPress site, including the site files and database. This ensures that you can restore your site if something goes wrong during the migration.
After backing up, clean up your WordPress site. Migrating an outdated or bloated website can lead to unnecessary complications.
Before you begin, delete inactive themes and plugins, remove spam comments, and clean up your database. This will reduce the size of the data you need to transfer and improve performance on the new hosting server.
Now, disable caching and security plugins so it doesn’t interfere with the migration process by modifying site behavior. Re-enable them once the process is complete on the new server.
Note down database credentials when setting up your site on the new host: your database name, username, and password.
In the end, verify your new hosting environment. Check PHP versions, database support, and available storage space to ensure compatibility with your site.
WordPress website migration, step-by-step
Now that your site is ready for migration, let’s move on to the step-by-step process of manually migrating your WordPress website.
1. Export your website database to create a backup
First, export your WordPress site database to ensure you have a backup in case anything goes wrong.
To export your WordPress database in just a few clicks:
- Log into your current hosting provider’s database manager.
- Select your site’s database and navigate to the export tab.
- Choose the SQL format and click on the export method.
- Save the previously exported database to your local system.
2. Download your site files
To ensure a complete site migration, you must download all your WordPress site’s files:
- Use an FTP client (such as FileZilla) or your hosting provider’s file manager to access your website files.
- Navigate to the root directory where your WordPress installation is stored. This is typically the public_html folder.
- Select all files and directories, including wp-content, wp-admin, wp-includes, and configuration files such as wp-config.php.
- Download all the selected files to your local system.
- Compress the downloaded files into a single zip archive to reduce file size and simplify the upload process to the new server.
- Double-check that all essential files have been downloaded by verifying file sizes and comparing directories.
3. Create a new database on the new hosting server
To manually migrate your WordPress site, you need to create a new database on your new hosting server. Follow these steps to set it up:
- Log into your hosting control panel – Most web hosts use cPanel, Plesk, or a custom control panel. Locate the Database section.
- Open the database manager – In cPanel, click on MySQL Databases. For other hosting providers, look for a similar database management tool.
- Create a new database – Enter a name for your new database and click the Create Database button.
- Create a database user – Assign a username and password for the database. Ensure you choose a strong password for security.
- Grant privileges – Assign the user full privileges to the newly created database. This allows WordPress to read and write data properly.
- Take note of credentials – You’ll need the database name, username, and password later when configuring your wp-config.php file.
Your new database is now ready to receive the imported WordPress database from your old hosting server.
4. Edit the wp-config.php file with new database credentials
After creating a new database, you need to configure your WordPress site to use it. This requires editing the wp-config.php file:
- Locate the wp-config.php file – Access your site’s root directory using an FTP client or the file manager in your hosting control panel.
- Download a backup – Before making any changes, download a copy of wp-config.php to your local computer as a precaution.
- Open the file in a text editor – Use a code editor like Notepad++ or VS Code to open the file.
- Update database credentials – Find the following lines and replace the placeholders with your new database details:
define('DB_NAME', 'your_new_database_name'); define('DB_USER', 'your_new_database_user'); define('DB_PASSWORD', 'your_new_database_password'); define('DB_HOST', 'your_new_host'); - Save and re-upload the file – Once you have updated the credentials, save the file and upload it back to your site’s root directory.
5. Upload your site files to the new host
Here’s how to transfer your WordPress site files to the new hosting server.
- Connect to the new server – Use an FTP client or the file manager in your hosting control panel to access your new hosting account.
- Navigate to the root directory – Locate the public_html or root directory where your WordPress installation will be stored.
- Upload all the files – Transfer all your previously downloaded site files to this directory. Ensure that all files, including theme files, media uploads, and plugins, are uploaded properly.
- Wait for the upload to complete – Depending on the file size and internet speed, this process may take some time. Double-check that all files are uploaded correctly.
Once all files are uploaded, your WordPress installation is now set up on the new server, and you are ready to import your database.
6. Import your previously exported database
Now that your website files are in place on the new site, it’s time to import the previously exported database into your new WordPress installation.
- Log into your new hosting server – Access your hosting control panel and navigate to the database management section.
- Open the database manager – In cPanel, this is usually found under phpMyAdmin. Select the new database you created earlier.
- Go to the Import tab – Click the Import option in the database manager.
- Upload your exported database – Click the Choose File button and select the SQL file you exported from your current WordPress site.
- Execute the import – Once the file is selected, click Go to start the upload process. The database manager will now import the SQL file and add all the necessary tables to your new database.
- Verify the import – Once the process completes, check that all tables and data have been correctly imported. If any errors occur, recheck your export file and try again.
With your database now imported, your destination site is linked to the correct data, allowing your new WordPress installation to function properly.
7. Update URLs using search and replace

After importing your old database into your new hosting environment, you need to update the URLs so that your site functions correctly.
WordPress stores absolute URLs in its database, which means that references to your old domain will still be present in posts, media files, and internal links.
To update your site URLs, follow these steps:
- Access phpMyAdmin – Log into your new hosting provider’s control panel and open phpMyAdmin.
- Select your database – In phpMyAdmin, choose the new WordPress database where you imported the original database.
- Run a search and replace query – Navigate to the SQL tab and execute the following command, replacing oldsite.com with your previous domain and newsite.com with your new domain:
UPDATE wp_options SET option_value = REPLACE(option_value, 'http://oldsite.com', 'http://newsite.com') WHERE option_name = 'home' OR option_name = 'siteurl'; UPDATE wp_posts SET post_content = REPLACE(post_content, 'http://oldsite.com', 'http://newsite.com'); UPDATE wp_postmeta SET meta_value = REPLACE(meta_value, 'http://oldsite.com', 'http://newsite.com'); UPDATE wp_comments SET comment_content = REPLACE(comment_content, 'http://oldsite.com', 'http://newsite.com'); - Use a plugin for better control – If you prefer an easier method, install the Better Search Replace plugin in your WordPress dashboard. This tool allows you to replace old URLs throughout your site’s content without manually running SQL queries.
- Check for broken links – After updating your URLs, test internal links, media files, and embedded content to ensure they all point to the correct new site.
8. Test your site on the new hosting provider
Now that the URLs are updated, it’s time to test your new WordPress installation thoroughly. Log into the WordPress dashboard and navigate through your pages, posts, and media files to confirm that everything is loading correctly. Test links, images, and embedded media to ensure there are no broken elements.
Additionally, check the website on different browsers and devices to ensure consistent functionality. Pay close attention to contact forms, e-commerce features, and dynamic elements such as sliders or interactive content.
You should also enable debugging in WordPress by adding the following line to the wp-config.php file:
define('WP_DEBUG', true);This will help identify any errors or compatibility issues that need to be addressed before finalizing the migration.
9. Update DNS settings to point to the new hosting server
Once you have verified that the new site is functioning correctly, update the domain name system (DNS) settings to point to your new hosting provider. This involves updating your DNS records through your domain registrar.
- Log into your domain registrar – Access the control panel where your domain name is managed.
- Update the nameservers – Replace the old hosting provider’s nameservers with the new host’s nameservers.
- Wait for DNS propagation – It may take up to 48 hours for DNS changes to fully propagate.
10. Final verification and troubleshooting
Finally, ensure all site elements function properly and troubleshoot any broken links or missing files by comparing them to the original website.
Use tools such as Google Search Console and online broken link checkers to identify any remaining issues. If necessary, clear the cache in both your browser and your WordPress caching plugins to ensure you’re viewing the most updated version of your site.
Review security settings and re-enable any security or caching plugins you previously disabled, and you’re done!
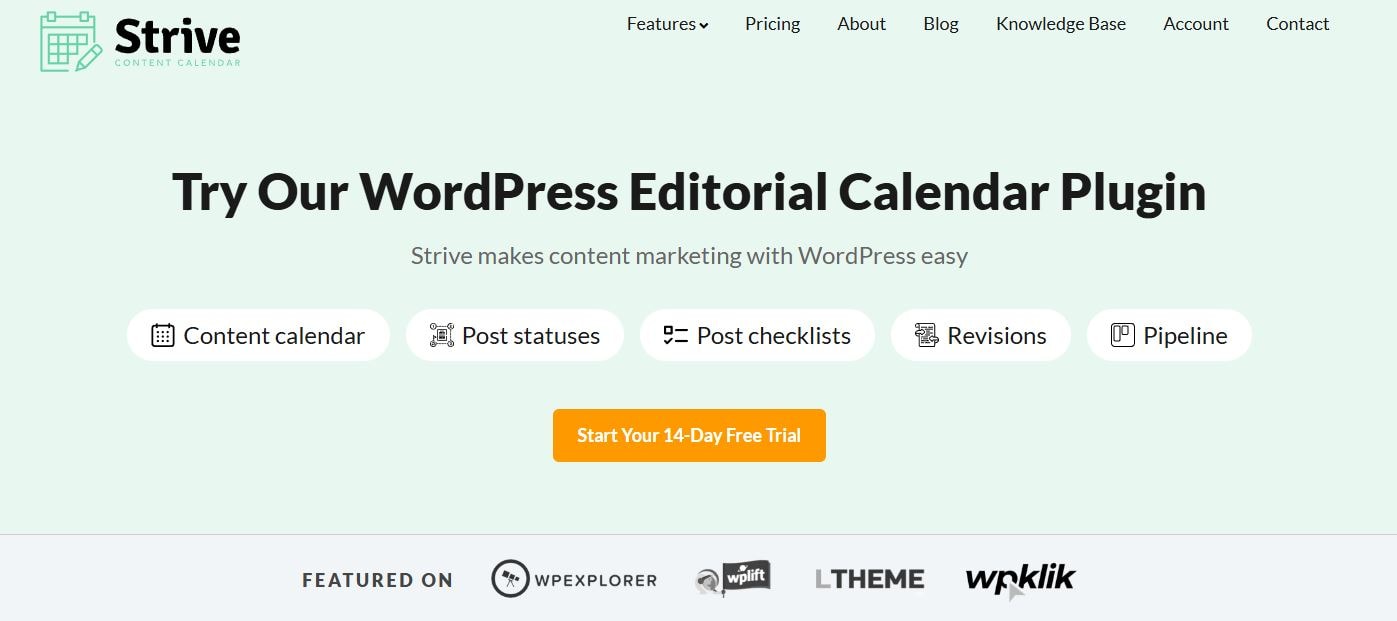
Get more done with Strive Calendar
Managing a WordPress site requires careful planning, especially when handling major tasks like migration.
Stay on top of your website updates, content schedule, and maintenance tasks with Strive Calendar—a powerful editorial calendar built directly into WordPress.
With features like post scheduling, color-coded statuses, and revision tracking, Strive Calendar makes it easy to keep your website organized. Whether you’re planning new content or tracking updates after migration, Strive helps you stay in control.

Start your free trial today and see how Strive Calendar can simplify your WordPress workflow!