
Starting with WordPress can feel overwhelming, especially if you’re new to building websites. You might be wondering how to navigate the WordPress dashboard, how to create pages, edit your homepage, or even how to edit existing content without breaking anything.
The good news? Learning how to edit your WordPress site is easier than you think.
In this step-by-step guide, we’ll walk you through everything from accessing the WordPress editor to customizing your site’s design.
Whether you’re looking to tweak a few details or build new pages from scratch, this guide will help you feel confident making changes to your WordPress website.
With a little practice, you’ll be managing your site like a pro in no time!
Getting started with WordPress
How to access the WordPress dashboard
When you first log into your WordPress site, you’ll land on the WordPress dashboard. Think of this as your website’s control center. From here, you can manage everything—from editing pages to adjusting settings.
It might look a bit intimidating at first, but once you get familiar with the layout, it becomes second nature.
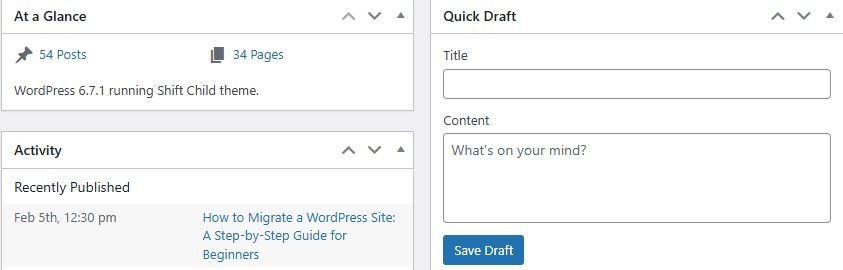
Here are some key elements you’ll see on the dashboard:
- At a glance: A summary of your site’s content, including the number of posts, pages, and comments.
- Activity: Recent posts, comments, and any updates on your site.
- Quick draft: A space to quickly jot down ideas for future posts.
- Site health status: Insights into your site’s performance and suggestions for improvements.
- Updates: Notifications for theme, plugins, and WordPress core updates.
- Welcome panel: Helpful links to guide you in customizing your site if you’re just getting started.
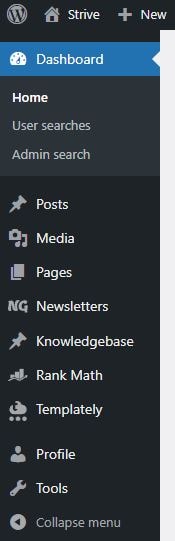
Navigating the left sidebar menu
On the left-hand side of your screen, you’ll notice the left sidebar menu.
This is where you’ll find all the tools you need to manage your WordPress site. Whether you want to create a new post, edit a page, or customize your site’s appearance, it all starts here.
Here are some of the key items you’ll find in the left sidebar menu:
- Dashboard: Your site’s main control panel.
- Posts: Manage your blog posts.
- Media: Upload and manage images, videos, and other media files.
- Pages: Create and edit static pages like “About” or “Contact.”
- Comments: Moderate and respond to user comments.
- Appearance: Customize your site’s theme, widgets, and menus.
- Plugins: Install and manage different plugins (a SEO plugin, for example) to add functionality.
- Users: Manage user accounts and permissions.
- Tools: Access import/export tools and other utilities.
- Settings: Configure general, writing, reading, and other site settings.
Ensuring you have the necessary permissions to edit
Before diving in, it’s important to ensure you have the right permissions to make edits on your WordPress site.
If you’re the site owner, you’ll automatically have full access to all editing features.
However, if you’re part of a team, like a contributor or editor, your access might be limited based on your user role. Check with the site administrator if you’re unsure about your permissions. This ensures you won’t run into unexpected roadblocks while trying to make changes.
Understanding the WordPress editor
There are different ways to edit your WordPress website, depending on your preferences and needs.
The two most common editors are the Gutenberg editor (also known as the block editor) and the Classic editor. Both have their own unique features and layouts, and we’ll describe each below to help you decide which one works best for you.
Gutenberg editor vs classic editor
The Gutenberg WordPress editor is the default editor in WordPress and uses a block-based system.
This means every piece of content—whether it’s a paragraph, image, or video—is contained within its own “block.” You can easily move these blocks around, customize them individually, and add new ones by clicking the “+” icon.
The interface is modern and clean, giving you a visual representation of how your content will look on the page.
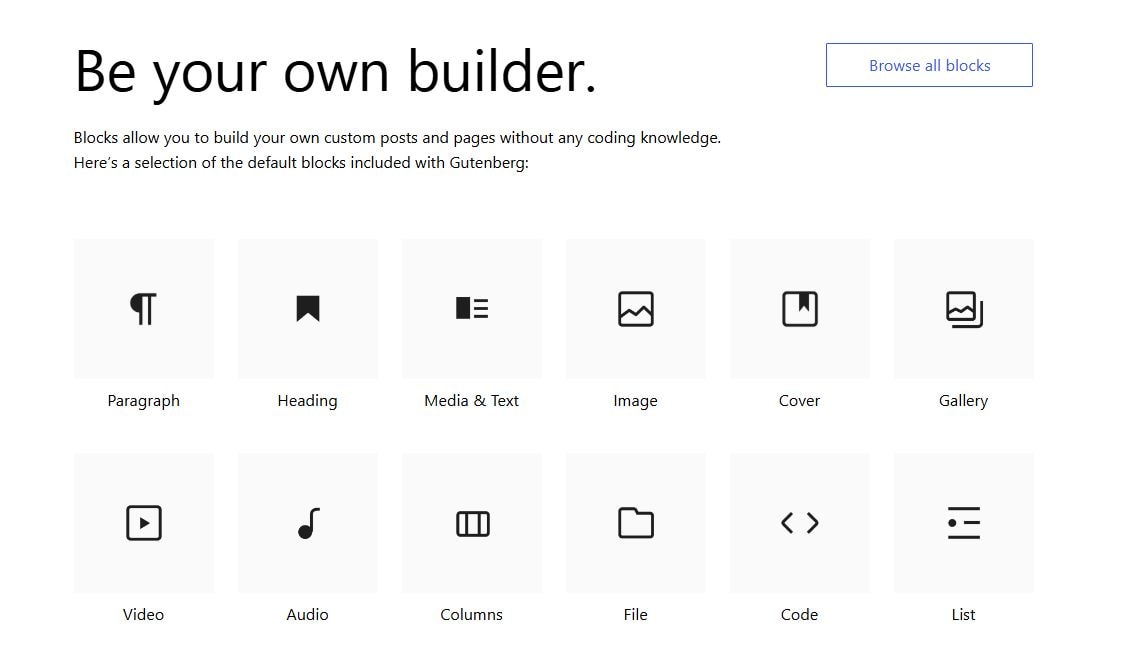
source: https://wordpress.org/gutenberg/
On the other hand, the Classic WordPress editor feels more like a traditional word processor, similar to Microsoft Word.
It has a single content box where you can type, add images, and format text using a toolbar at the top.
It’s simpler and familiar for those who prefer a no-fuss editing experience.
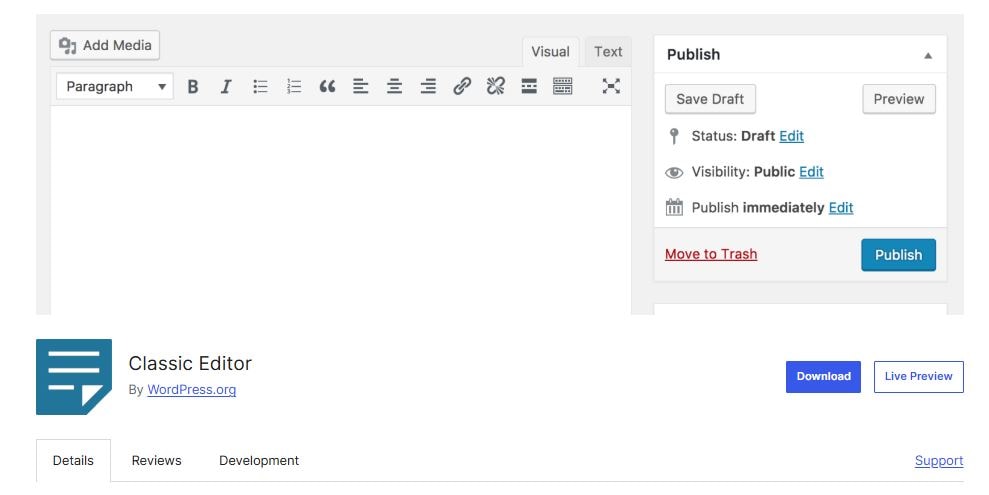
source: https://wordpress.org/plugins/classic-editor/
While Gutenberg WordPress offers more flexibility and design options, the Classic WordPress editor is great for users who prefer a straightforward, text-focused approach.
How to switch between editors
Switching between the Gutenberg editor and the Classic WordPress editor is simple.
If you prefer the Classic editor, you can install the Classic Editor plugin from the Plugins section in your WordPress dashboard. Once activated, it will replace the Gutenberg editor with the Classic one.
If you’re using Gutenberg but want to switch to the Classic editor for a specific post or page, look for the option in the editor settings. You might see an option labeled “Switch to Classic Editor” in the three dots menu (found in the top-right corner of the Gutenberg editor).
Conversely, if you’ve been using the Classic editor and want to try Gutenberg, you can simply deactivate the Classic Editor plugin. WordPress will automatically revert to using the Gutenberg editor.
Accessing the editor through posts or pages
No matter which editor you choose, you’ll find it easy to add, update, and organize your website’s content with just a few clicks.
To start editing your content, you’ll need to access the editor through the Posts or Pages section in the left sidebar menu of your WordPress dashboard.
- Click on Posts if you want to edit or create blog entries, or click on Pages if you’re working on static pages like your homepage, about page, or contact page.
- Once you’re in the desired section, you’ll see a list of existing content. To edit an existing post or page, simply hover over the title and click Edit. This will open the content in either the Gutenberg or Classic editor, depending on your settings. You can also open an existing page to modify or add new content without starting from scratch.
- To create a new post or page, click the Add New button at the top of the screen. This will open a blank editor where you can start creating your new content.
If you’re looking for an even more organized way to manage your posts, consider using StriveCalendar.
It’s a content calendar plugin designed specifically for WordPress, offering a visual calendar interface that helps you plan and schedule your posts with ease.
StriveCalendar lets you drag and drop posts directly on the calendar, ensuring you never miss a deadline and can keep track of your content strategy right from your WordPress dashboard.
Understanding WordPress blocks
What are WordPress blocks?
WordPress blocks are the building blocks of your content in the Gutenberg editor.
Each block represents a different type of content—like paragraphs, images, videos, or buttons. This block-based approach makes it super easy to customize and organize your content without any coding knowledge.
For example, if you want to add a paragraph of text, you insert a Paragraph block. Want to include an image? You use an Image block.
The beauty of blocks is that they can be easily moved, customized, and styled to fit your needs. This gives you more control over how your WordPress website looks and functions.
Adding and managing blocks in the block editor
Adding and managing blocks in the Gutenberg editor is simple and intuitive. Here’s a step-by-step guide:
- Open the Gutenberg editor: Start by editing an existing post or page, or create a new one.
- Click the “+” icon: You’ll see this icon in the top-left corner of the editor or within the content area itself.
- Choose your block: A menu will pop up with different block options—text, images, media, embeds, and more. Select the one you need.
- Customize your block: Once added, you can adjust settings like alignment, color, and size in the right-hand sidebar.
- Move your blocks: Use the up and down arrows that appear when you hover over a block to rearrange your content easily.
Using blocks to add text, images, and media
Here’s how you can add various types of content using blocks:
To add text:
- Click the “+” icon and select the Paragraph block.
- Start typing your text directly into the block.
- Use the formatting toolbar that appears above the block to adjust bold, italics, alignment, and more.
To add images:
- Click the “+” icon and select the Image block.
- Choose to upload an image from your computer, select one from your media library, or insert from a URL.
- Adjust the image size, alignment, and add alt text for better SEO.
To add media (like videos):
- Click the “+” icon and choose the Video block or the appropriate media block (like Embed for YouTube videos).
- Upload your media file or paste the URL link.
- Customize the display settings as needed.
Editing existing content
How to edit a WordPress page or post
To begin, head over to your WordPress dashboard and click on Posts or Pages from the left sidebar menu.
Find the post or page you want to update, hover over its title, and click Edit. This will open the content in your default editor—whether that’s the Gutenberg editor or the Classic editor.
Once you’re in the editor, you can easily change the page title, modify the page content, or even adjust the URL (also known as the permalink) to make it more SEO-friendly. You can also edit the website URL to ensure it aligns with your SEO strategy.
Don’t forget to click Update in the top right corner when you’re done to save your changes!
Using the block editor to add and modify content
Here’s how you can do it using the Gutenberg editor:
- Open the post or page you want to edit.
- To modify existing content, click on any block (like a text or image block). You’ll see a toolbar appear with formatting options.
- To add new content, click the “+” icon in the top left corner or within the editor.
- Select the type of block you want to add, such as a Paragraph, Image, or Video block.
- Customize your new block using the toolbar or the settings in the right-hand sidebar.
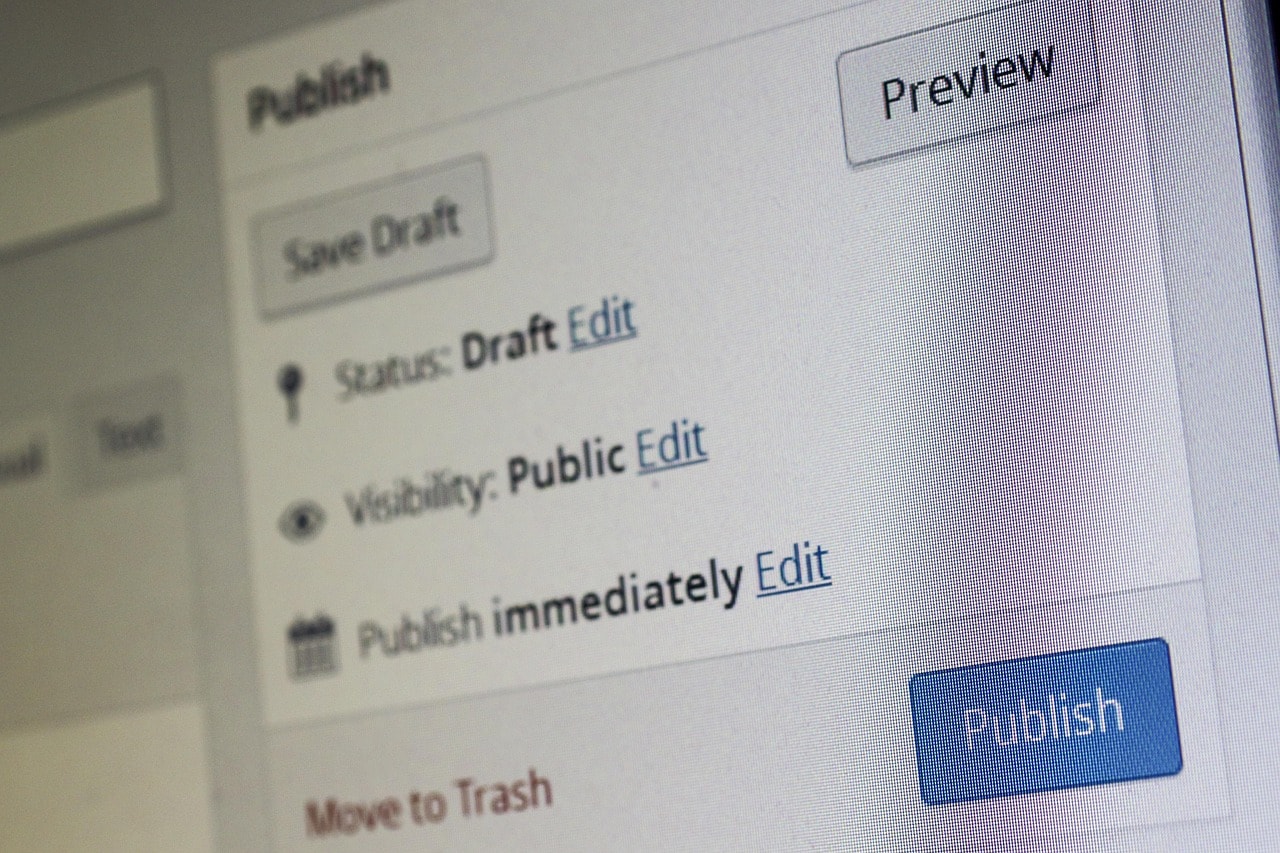
Once you’re happy with your changes, click Save Draft, Preview, or Publish depending on your needs.
How to use the pencil icon for quick edits
The pencil icon opens a simplified editor where you can quickly adjust things like the title, slug (URL), publish date, categories, and tags.
It’s perfect for small tweaks when you don’t need to open the full editor:
- Go to Posts or Pages in the WordPress dashboard.
- Hover over the title of the post or page you want to edit.
- Click the Quick Edit option (represented by a pencil icon).
Editing with the classic editor
Here’s how to get started with the Classic editor:
- Open the post or page you want to edit.
- You’ll see a single content box where you can type, add images, and format your text using the toolbar at the top.
- Use the Visual tab for a more visual editing experience or the Text tab if you want to edit the HTML code directly.
Creating new content
How to create a new page or post
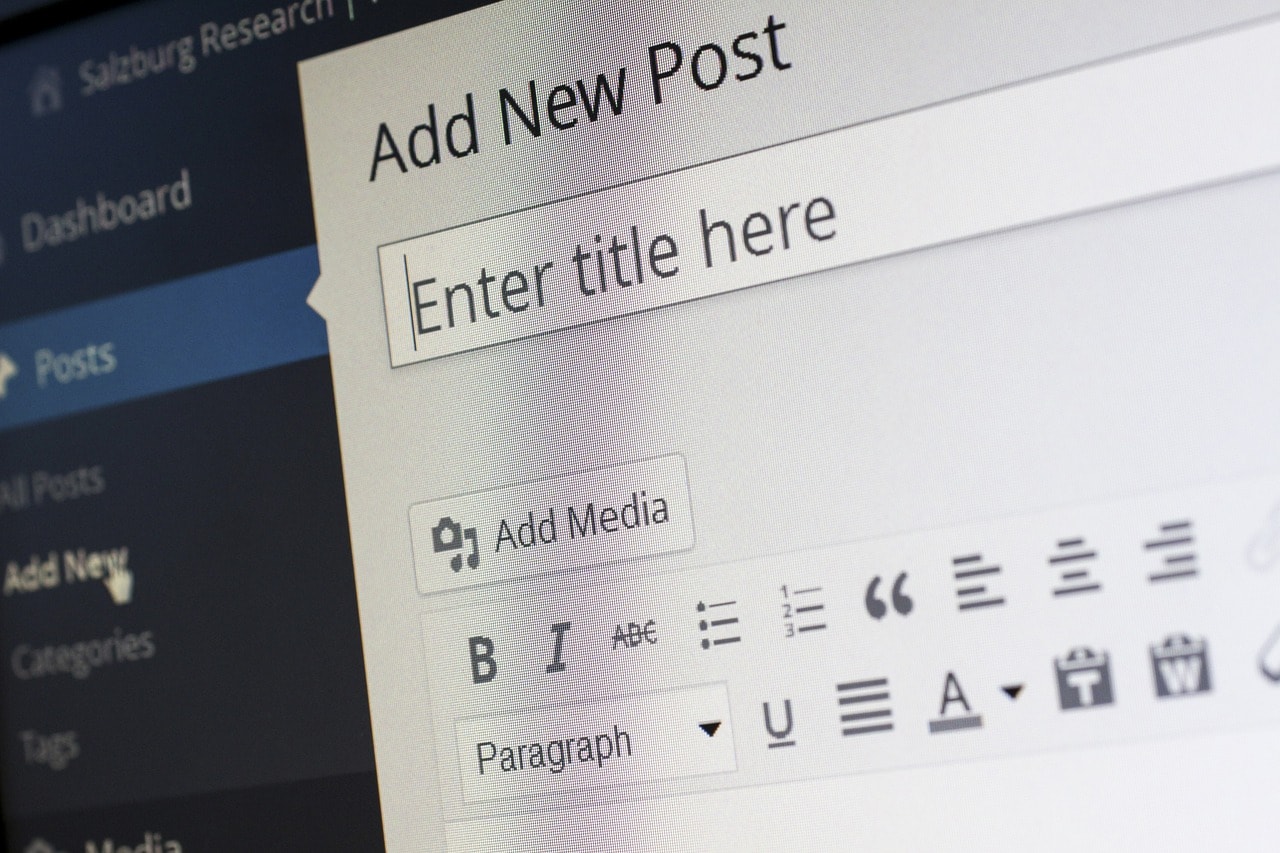
Navigate to Posts or Pages in the WordPress dashboard of your WordPress websites and click Add New.
This opens a blank editor where you can start crafting your new post or page. Add a page title at the top and begin filling in the page content using blocks or the classic content box.
Saving drafts and publishing content
While creating, you can click Save Draft to save your work without making it live.
To see how it looks, use the Preview option. Once you’re satisfied, click Publish in the top right corner to make your content live on your WordPress site.
If you want to schedule it for later, set a future date and time in the publishing settings.
Customizing your WordPress site
How to edit themes using the WordPress customizer
The WordPress Customizer is where you can adjust the look and feel of your site in real-time.
To access it, go to Appearance > Customize from the left sidebar menu. Here, you can tweak your site’s colors, fonts, and layouts without touching any code.
Changes are visible instantly in the preview pane, and you can click Publish to apply them.
Adjusting layouts and design settings
- Navigate to Appearance > Customize in your WordPress dashboard.
- Use Site Identity to upload your logo and adjust your site title.
- Modify Header and Footer layouts to fit your site’s design.
- Adjust widget placements in sidebars or footers for better navigation.
- Explore theme-specific options like background images, color schemes, and typography to personalize your site’s look.
Installing and using page builders
- Go to Plugins > Add New in your WordPress dashboard.
- Search for popular page builders like Elementor or Beaver Builder.
- Click Install and then Activate the plugin.
- Access the page builder from your Pages or Posts section.
- Use the drag-and-drop interface to add elements like text, images, and buttons.
- Customize layouts using pre-made templates or create your own from scratch.
Changing themes and adding widgets
To change your site’s theme, head to Appearance > Themes and click Add New.
Browse the WordPress Theme Directory or upload a theme from a third-party source. Once you find one you like, click Install and then Activate.
Widgets add functionality to your site’s sidebars and footers.
To add or customize widgets, go to Appearance > Widgets. Here, you can drag items like search bars, recent posts, or custom menus into your widget areas.
Advanced editing techniques
Sometimes, you might want more control over your WordPress site than what the default settings and editors provide. That’s where advanced editing techniques come in handy. These techniques let you customize your site’s code, fine-tune its design, and add features that aren’t available through standard settings. It’s perfect for users who want a truly unique website or need to implement specific functionalities.
How to edit your site’s code using the theme editor
- Go to Appearance > Theme File Editor from the left sidebar menu in your WordPress dashboard.
- Select the theme you want to edit from the dropdown at the top right.
- You’ll see a list of theme files on the right-hand side—like style.css for design changes or functions.php for adding custom features.
- Click on the file you want to edit, make your changes in the code editor, and then click Update File to save.
Important: Always create a backup of your site before editing theme files to avoid accidental data loss. Using a child theme is also recommended to prevent your customizations from being overwritten during theme updates.
Customizing theme files for advanced design and functionality
- To make advanced design changes, edit the CSS in the style.css file. This lets you adjust things like fonts, colors, and layout specifics.
- For functionality tweaks, add custom code snippets to the functions.php file. This is great for adding features like custom widgets, shortcodes, or modifying default WordPress behavior.
- You can also modify template files like header.php or footer.php to change the structure of your site’s pages.
Additional WordPress tips and tricks
Here are some additional useful tips to get you started:
- How to preview changes before publishing: Before publishing your content, it’s a good idea to see how it will look to your visitors. In the Gutenberg editor, click the Preview button at the top right corner. This will open a new tab where you can view your post or page exactly as it will appear once it’s live.
- Using the three dots menu for advanced options: In the Gutenberg editor, you’ll notice a three dots menu in the top-right corner. This menu gives you access to advanced settings like switching between visual and code editors, copying all content, and managing editor preferences. It’s a handy tool when you want more control over your editing environment.
- Troubleshooting common issues: If something isn’t working as expected, start by clearing your browser cache or disabling plugins one by one to identify conflicts. Often, plugin or theme conflicts can cause issues with editing or displaying content. Also, ensure your WordPress version and plugins are up to date.
- Backing up your site to prevent data loss: Regular backups are essential to protect your site from unexpected data loss. Use plugins like UpdraftPlus or BackupBuddy to schedule automatic backups. Store your backups in a secure location like Google Drive or Dropbox to ensure you can restore your site if anything goes wrong.
Using WordPress support forums and professional assistance
If you encounter issues you can’t resolve on your own, the WordPress support forums are a great place to start. You’ll find a community of developers and users who can offer guidance.
For more complex problems, consider reaching out to your hosting provider’s support team or hiring a professional WordPress developer.
Conclusion
Editing your WordPress site doesn’t have to be complicated. Whether you’re tweaking existing content, adding new pages, or diving into advanced customizations, WordPress offers flexible tools to meet your needs.
With this guide, you now have the knowledge to confidently manage your website and create content that stands out. So, get started, explore the possibilities, and watch your site come to life!
Take your content management to the next level with StriveCalendar

If you’re ready to streamline your content creation process, StriveCalendar is the perfect tool to keep your WordPress site organized. With its intuitive visual calendar, you can easily plan, schedule, and manage your posts, ensuring you never miss a deadline. Drag-and-drop functionality, post checklists, and revision tracking make it easier than ever to stay on top of your content strategy.
Ready to boost your productivity? Learn more about StriveCalendar here and take control of your WordPress content today!