
Oftentimes, you’ll want to make edits to a post you see in the calendar.
You can make small edits without leaving the calendar, and Strive also gives you links to the editor in case you need to edit the full post content or metadata.
1. Make small edits in the Quick Edit menu
While viewing the calendar, click anywhere on a post to open the Quick Edit menu.
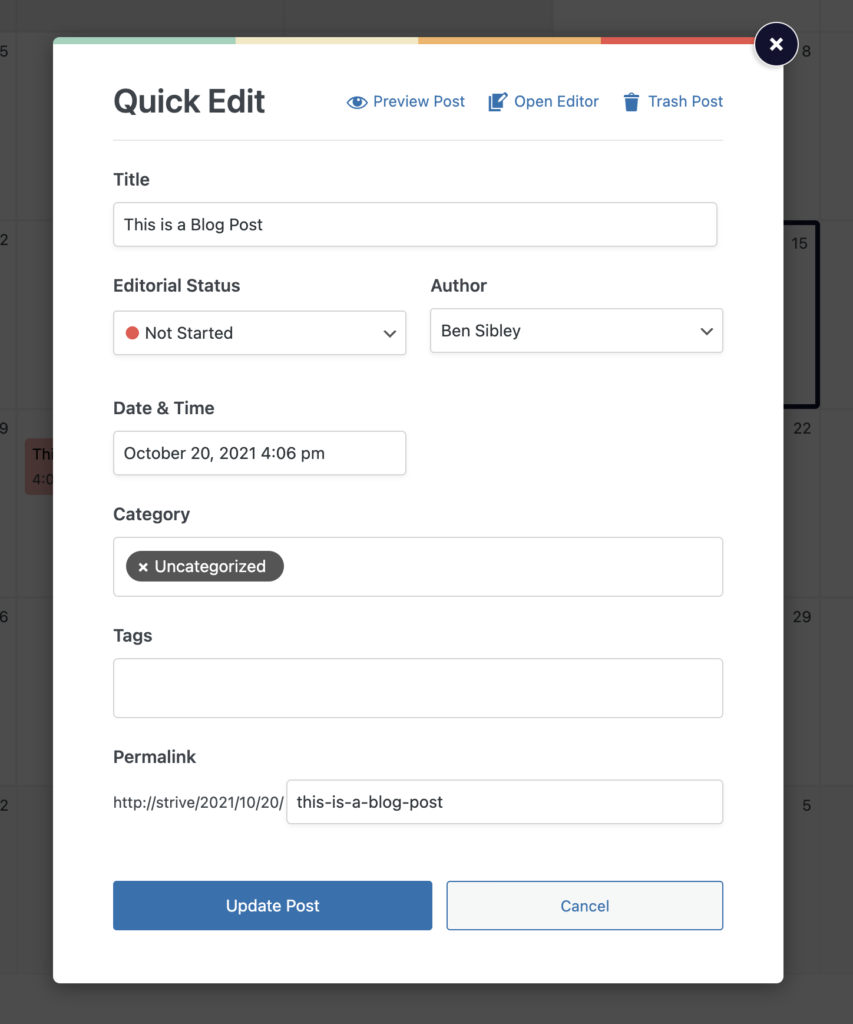
From this menu, you can edit the following post details:
- Title
- Editorial Status
- Author
- Date
- Category
- Tags
- Permalink
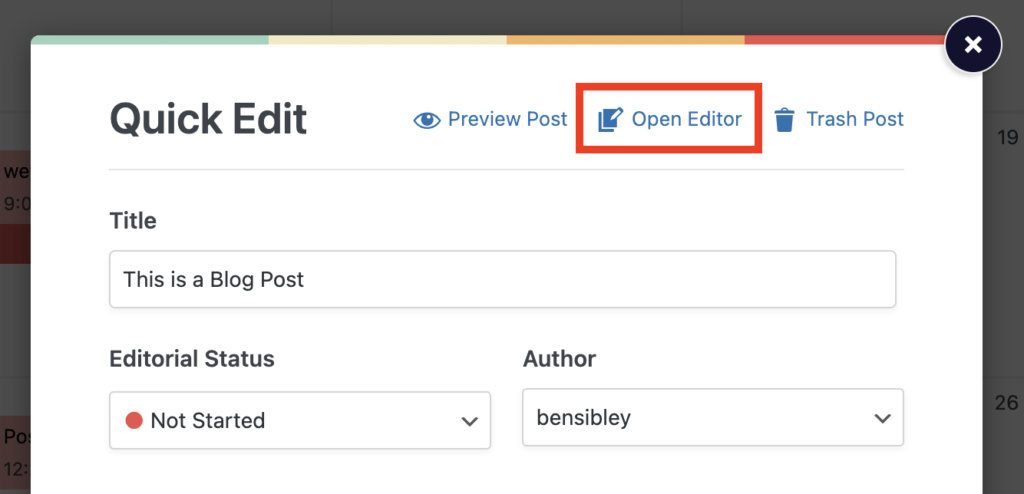
You’ll notice there are also a few links across the top of the menu. If you need to edit the post’s content, you can click the “Open Editor” link to open the full post editor in a new tab.
2. Launch the post editor from the calendar
If you need to edit a post’s content, you’ll need to open the full post editor. Instead of opening the Quick Edit menu first, you can use the direct editor link available in the calendar.
Hover your cursor over a post, and you’ll see the post editor icon appear in the top-right corner.
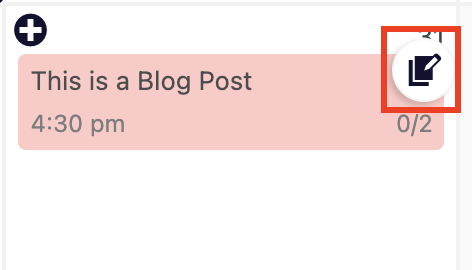
Click that icon, and the post editor will open in a new tab.
This provides you with an easy way to access your full posts from the calendar.
If you change the status or scheduled date of a post in the full editor, you won’t see this reflected in the calendar until you refresh the page.
Search
Search for
Categories
Related Tutorials
- Getting Started with the Content Calendar
- How to Add New Posts to the Calendar
- How to Reschedule Posts
- How to Unschedule a Post
- How to Display Post Categories in the Calendar
- How to Display Post Tags in the Calendar
- How to Filter Posts in the Calendar
- How to Prevent Incomplete Posts From Publishing
- How to Change the Starting Day of the Week
- How to Change the Number of Weeks in the Calendar
- How to Enable Color Blind Mode
- How to Translate Strive
- How to Keep the Unscheduled Drafts Sidebar Open